
Build the working loop before decoration
- Step 1: Use the hammer to place the workbench, sleeping area, storage, portal, smelting, farming, and defense points on the smallest workable footprint.
- Step 2: Build one roof and support section, aim the hammer at the pieces, and read the structural-integrity colors before copying the pattern.
- Step 3: Walk the full route carrying materials, repair tools, and food, then add smoke access, storage expansion, and decoration only after the working core is reachable; keep the layout when the route has no blocked door, smoke problem, or support warning.
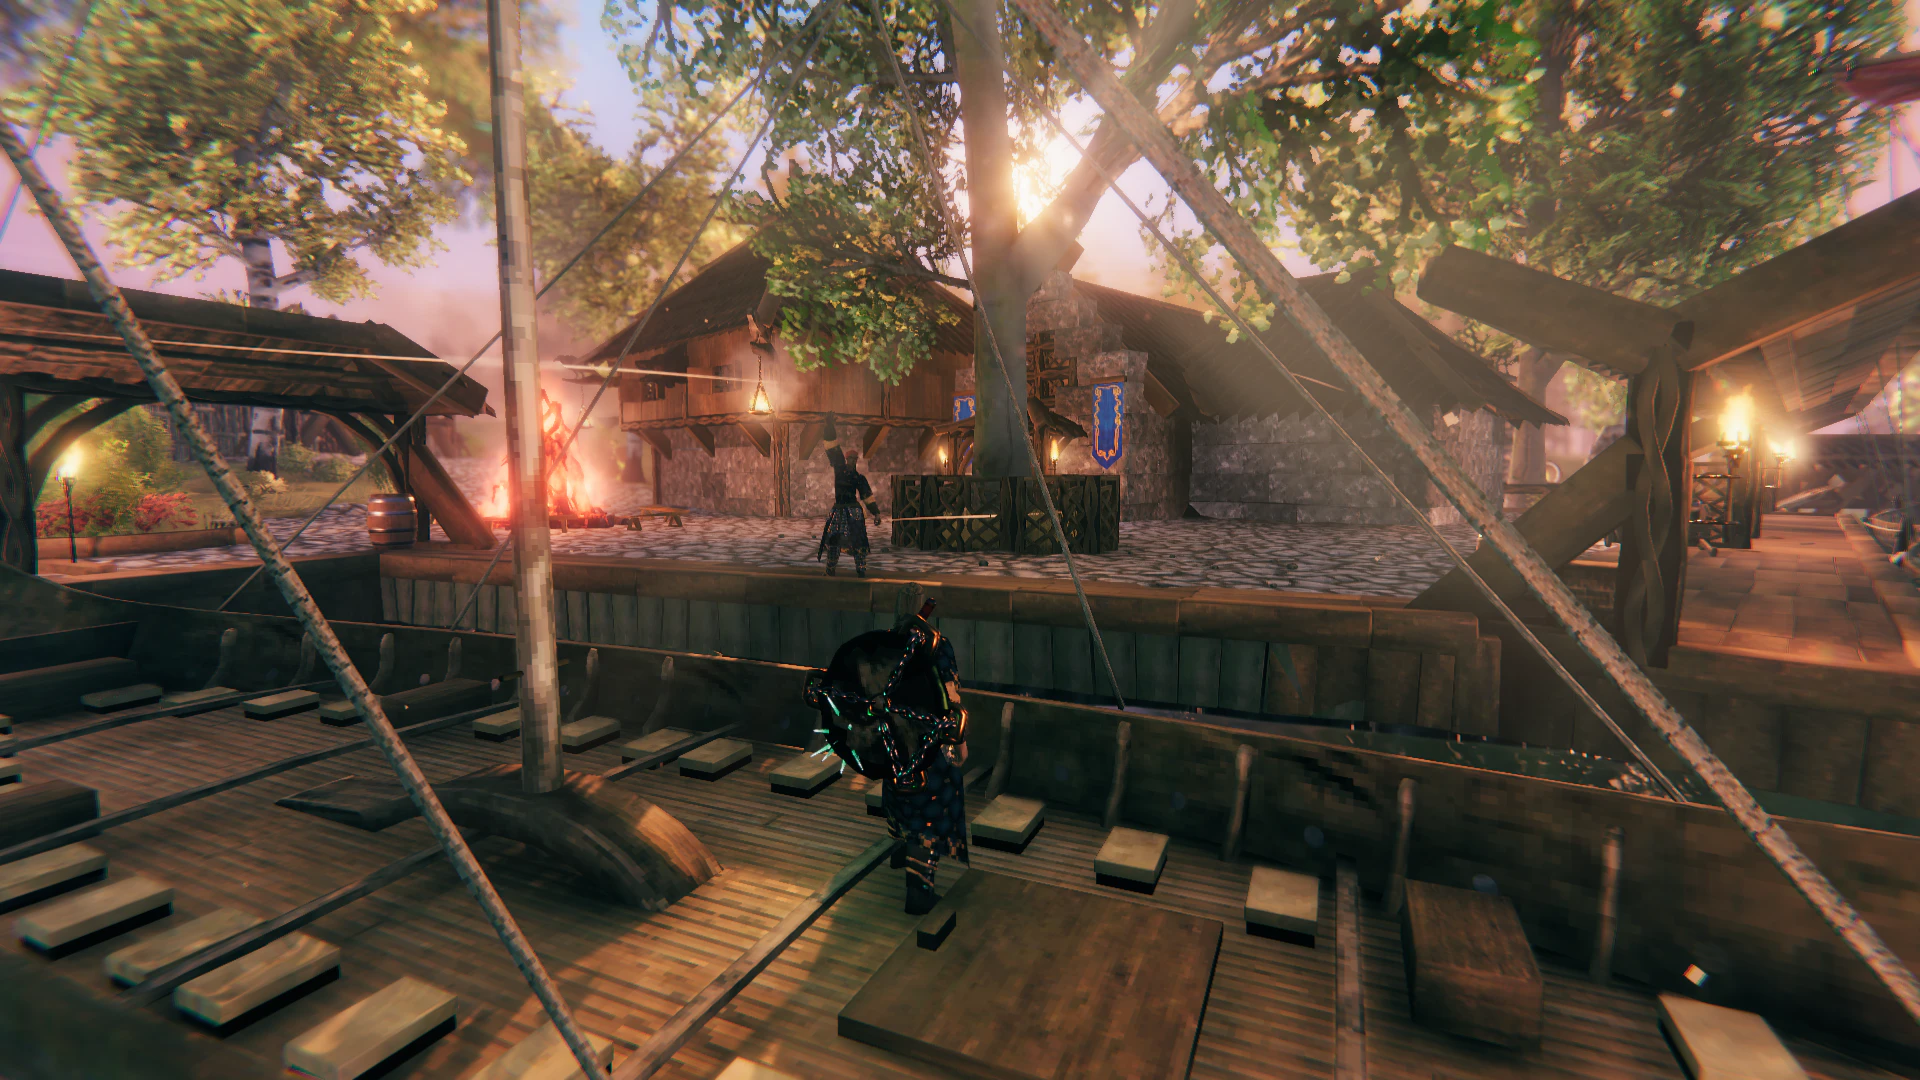
A good Valheim base is a short path between production, storage, sleeping, portals, defense, and repair. The visual shape can change later; the first test should reveal blocked doors, smoke problems, weak supports, and unnecessary carrying.
- Place the workbench, storage, portal, sleeping area, and production stations before expanding the footprint.
- Read the structural-integrity colors on one roof and support section before copying it.
- Walk the full material-to-storage route carrying the tools and food used in normal play.
Build sequence from the material
| Build pass | Place or do this | Check before continuing |
|---|---|---|
| 1. Work area | Flatten the footprint with the hoe, place a Workbench (10 wood), select the hammer with 1–8, open the build menu with RMB, switch categories with Q/E, and place with LMB. | Every planned station is inside workbench range and the route fits the smallest useful footprint. |
| 2. Frame and floor | In the tutorial demo, start with a 1m pole, add 2m wood beams, make a four-wide footprint, and snap floor pieces to the frame. | Aim at each piece and confirm the support color before copying the pattern; blue is grounded and red means the new piece can break. |
| 3. Roof and smoke | Choose 45° or 26° roof pieces, aim at the top of existing walls to snap them, and leave a vent above the fire and cooking area. | Wood is covered against rain and smoke exits without filling the room. |
| 4. Service core | Place the hearth first, then cooking set, cooking station, cauldron, kettle, and barrel; place the forge before bellows. Raise the butcher table or tanning rack on a half slab if collision blocks placement. | Stations can be reached, repaired, and used without moving the working core. |
| 5. Defense and expansion | Use terrain walls or pillars, or dig a roughly three-block pit; keep a roof against flying creatures and leave access for storage, repair, and future rooms. | A player can complete the material → storage → repair route and return safely before decoration is added. |
Fix the bottleneck before expanding
- Shrink the roof span or add support when integrity colors fail.
- Move decoration after the production route works.
- Keep a material estimate and build the next section only after the test bay holds.